My new favorite thing in Blogger?
Adding "read more" tags to posts. I'd seen this feature on WordPress and other blogs before but hadn't realized it was a Blogger feature, too. I think it's been here for donkey's years, but I was slow to catch on to the benefits!
Here's a little tutorial that will explain "read more" links and let you know why and how you should add them!
What's a "read more" tag?
First things first! If you have no idea what I'm talking about, take a look at my
Hobo Mama homepage (for I have not performed the same editing wonders on this site yet!).
(Click on images to see them larger.)
 The "read more" link is at the bottom of the post
 that's been truncated. When you click on it, it
links to the original article URL plus the #more tag at the end — in this case,
this link: http://www.hobomama.com/2011/02/fat-and-pregnant-heartbeat-video.html#more. So if you're reading from a page and choose to "read more," you will get popped into the article at the point where you left off. On the other hand, if you click on the URL as a whole from another source (in a blog reader or from a Tweet, for instance), you'll see that the "more" tag is undetectable when the post is expanded (
try it here: http://www.hobomama.com/2011/02/fat-and-pregnant-heartbeat-video.html). Then it simply shows you the post as a whole, and the "more" coding is invisible.
Other examples of a "read more" link at work can be seen in non-Blogger applications such as our WordPress-based
Natural Parents Network homepage, which has a sort of magazine/excerpt vibe to it. You get a
digest version of all the current posts and can click on the "Read More…" links if you're interested to, well,
read more.
Why do I want "read more" tags?
Scanning and searching is easier
The biggest reason is to make
pages that encompass a lot of posts less cumbersome for readers to scroll through and find what they want. This is true for your
home page as well as any
category/label search pages.
For instance, I've recently gone back and added in "more" tags on all my posts tagged with Elimination Communication on Hobo Mama. If you look at
the category page for elimination communication now —
http://www.hobomama.com/search/label/elimination%20communication
— you can
easily scroll through 19 partial posts on the subject and decide whether each article is really what you're looking for. (I'm guilty of popping labels onto posts that are only distantly related in some convoluted way in my mind….)
By contrast, I went to a label where I hadn't yet added jump tags, and
only six posts loaded, in their entirety. That makes it a lot harder for readers looking for a particular article to comb through your category tags, particularly if you have a lot of articles shuffled into a particular category. They have to keep clicking on "Older Posts" at the bottom of the page, again and again and again, in the hopes of finding the one article they're looking for.
I was going to show you the difference between the two ("read more" tags vs. no "read more" tags), but I plan to change all mine over as I have time. The best method I can think of, if you don't have "read more" tags yourself and you're on Blogger, is to
load your own homepage or a category page and see how clunky it is to wade through it all.
More information, less space
The other benefit, and it's related, is that
you can show highlights from more articles on a single page. For instance, I used to have to keep my Hobo Mama homepage at a maximum of four posts (under Settings --> Formatting --> "Show at most X posts on the main page"). My posts tend to be long and have a lot of images, so it took too long to load more than that and sometimes the multiple javascripts would interfere with certain browsers.
With the "read more" jump tags, however, I can keep each individual post down to a manageable excerpt size and therefore
safely and conveniently show more total posts on a page at once, making it more likely that a visitor will see something enticing.
How do I get me some of that sweet "read more" action?
So you're convinced! Now, how to add in those "read more" tags to your own posts? Fortunately, it's easy!
(Click on images to see them larger.)
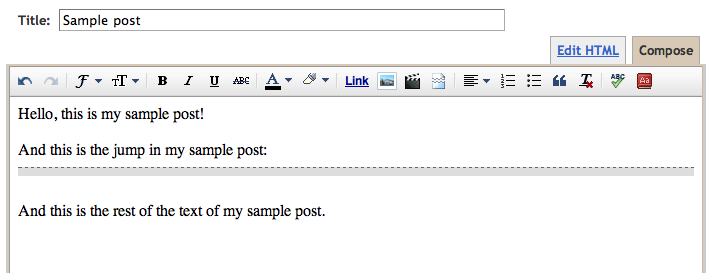
It's easiest to do in
"Compose" mode1, because there's a little icon right there to press! As you can see in the top row of this screenshot,
the icon looks like a page that's been ripped in half, symbolizing that a portion of the post is before the jump and a portion after.
Once you click the icon, this gray-with-black-dotted line pops into your post to show you where the jump will fall. You can delete it or copy and paste it elsewhere if you change your mind.
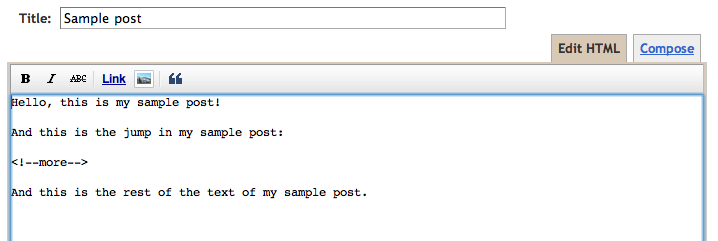
Alternatively, if you're in
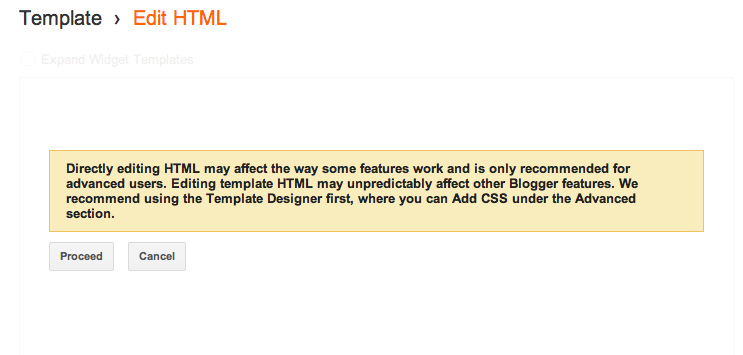
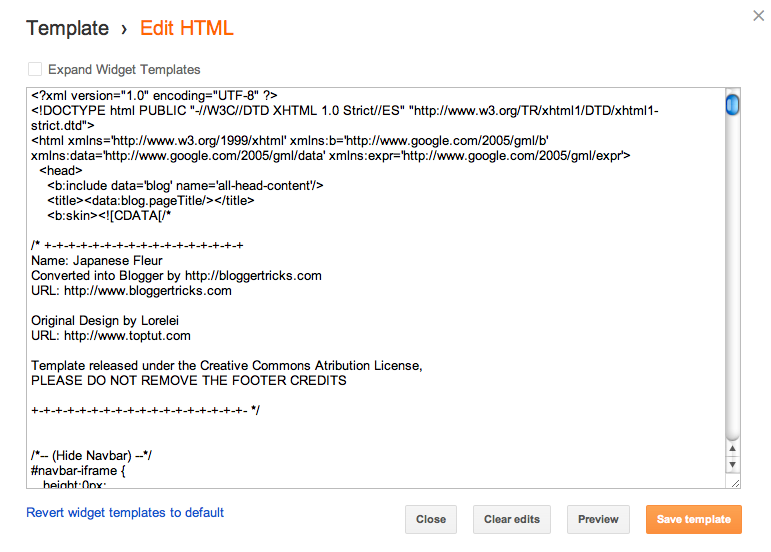
Edit HTML mode1 (I tend to write in HTML view, so I think that's why I didn't notice the "read more" icon for so long!), you can type in the HTML code for a jump yourself:
<!--more-->
Just
copy and paste that HTML coding tidbit wherever you want your jump link to appear.
To make things easier on me, I actually created a draft post with just that code in it that I saved with a date in the future so it's always at the top of my drafts list. Then, whenever I need the "read more" code, I can just open the draft and copy and paste. Another option I just thought of is to add it to your Post Template box, which makes things even easier in the long run as you're composing new posts in Edit HTML view. Simply go to Settings --> Formatting --> Post Template, paste it in and save your settings. I pasted in
<br><br><br><br><!--more--> so it wouldn't be at the very top. Then the coding will show up in every new post — just make sure to move it where you want to before you publish a post!
Jump around!
A couple final notes:
I've heard that
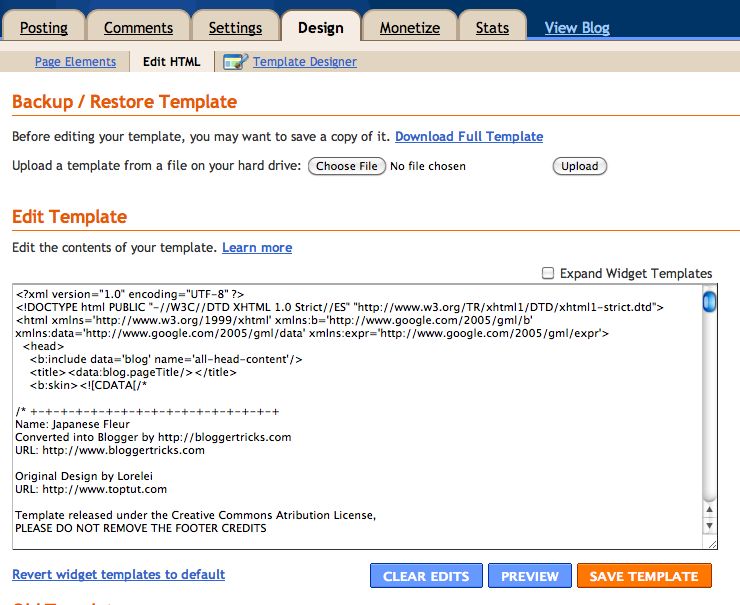
some older or nonstandard Blogger templates don't work automatically with the "read more" tags, so you might have to update or tweak your template in that case. My Hobo Mama template was automatically outfitted with the functionality and worked with no further fiddling on my part, but this template is not working. However, I want to upgrade my template here, anyway, so I'll deal with that later. If you're also having problems, let me know and I'll try to help you out!
Since you can't conveniently add custom excerpts yet for articles in Blogger the way you can in WordPress (see
this link as an example of a string of posts in WordPress that mostly have handcrafted excerpts along with selected featured images), you might want to
hone your skills at writing opening paragraphs that can function as an overarching preview for the article to come. I know I'm guilty of rambling on for awhile at the beginning of my posts (it's fun!) before getting to the
point. But if you know that your before-the-jump paragraphs are all readers will see to choose whether or not to click and read further, you might find yourself
making sure those opening paragraphs are concise and tempting enough to lure readers in further. Along the same lines, you might want any opening images to be pertinent, since whatever is up at the top is what will show. (Of course, you choose where the jump goes, so you can ultimately arrange it however you'd like!)
Rest assured, too, that anyone clicking on a URL from another source (such as Twitter or Facebook) or following your feed in a reader or email subscription
will see the full post. These "read more" tags don't affect anyone clicking on a regular post link, only people browsing your home site or a category search page. To my point of view, those are exactly the times you
want readers exposed to a wide variety of articles, so that's perfect for my needs.
If you want to
make sure that the "read more" tag doesn't put extra spaces and line breaks into your post, simply don't add them in! You can smush the "read more" coding right up against any other words or html, without any extra spaces or line breaks around it, and the break will happen there as planned.
Enjoy your "read more" tags —
your readers will!
1 If you need a simple mini-course on the difference between Compose and Edit HTML view in Blogger, see my tutorial "How to edit HTML in Blogger."↩







 Who's doing

 By popular demand …


