

This is an updated version for the new Blogger interface. If you're still using the old Blogger interface, visit this post instead.
Here's a little tutorial on how to schedule a post in Blogger (Blogspot) for a specific time and day.
This is useful if you want a post to go live at a certain time but will not be available to hit the publish button yourself (such as if you want your Carnival post to go live just after midnight but you'll be asleep by then).
It can also help your blog maintain a businesslike image if you schedule all or certain important posts to go live at a predictable time each day or week (such as a giveaway linky that readers can count on to show up at 9:00 a.m. each Thursday, for example).
(Note to my Carnival friends: You do not have to schedule your post; it's just a how-to in case you want to for your own convenience.)
1. Click on "Schedule" under "Post settings" in the right sidebar.
You can click on any of these pictures to see them bigger.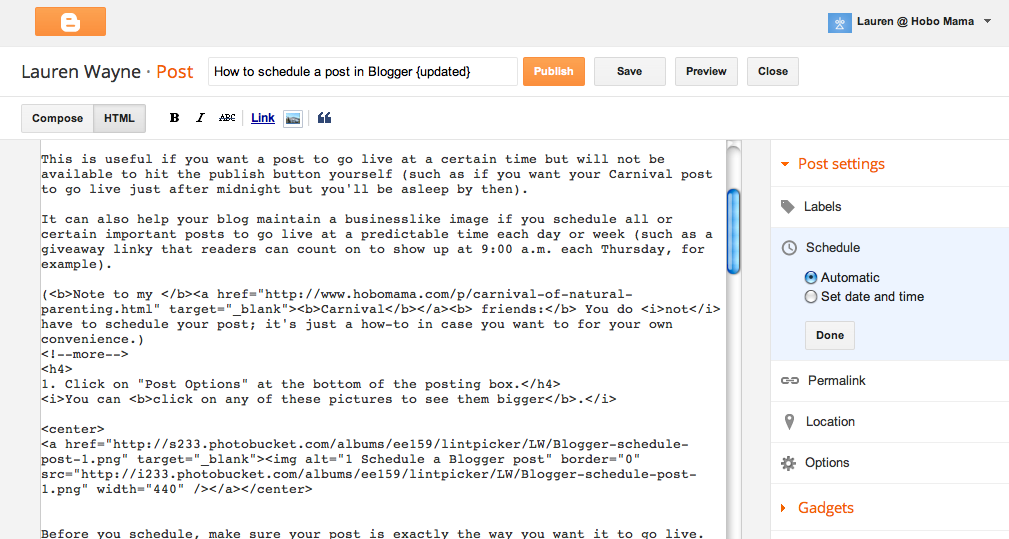
The "Automatic" default is to set the date whenever you click "Publish." However, you can choose to set your date and time instead.
Before you schedule, make sure your post is exactly the way you want it to go live. Use the "Preview" function that's at the top in between "Save" and "Close."
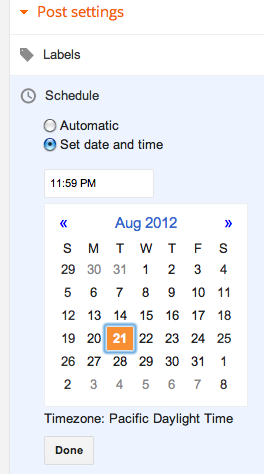
2. Select "Set date and time" to drop down the scheduling options.
3. Select your preferred date in the calendar.
4. Select your preferred time in the time box.
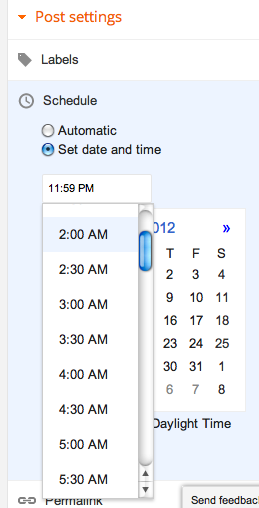
Once you click in the time box, it will drop down a list of all the half-hours in a day. You can select a time or simply type in your time, and you can customize the time to the minute.
(Note: The time zone is whatever your settings are set at. You can change the time zone at Dashboard --> Settings --> Language and formatting --> Time Zone.)
5. Finalize and publish.
Click "Done" after you've chosen your date and time.Then, when your post is ready, click "Publish" up at the top. Now your post is scheduled! It will go live at the time you scheduled.
6. Confirm that your post is scheduled.
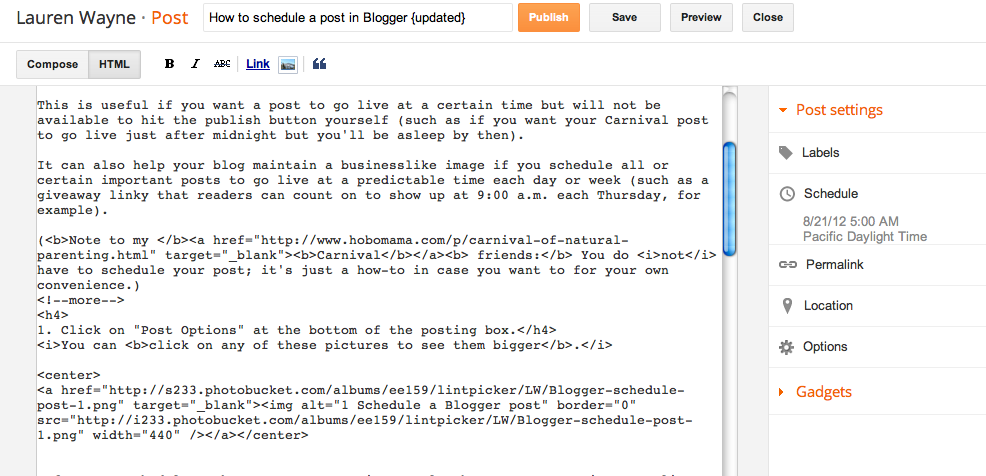
Once you click "Done," you should see the date and time permanently under "Schedule" in the right sidebar, up until the post goes live.
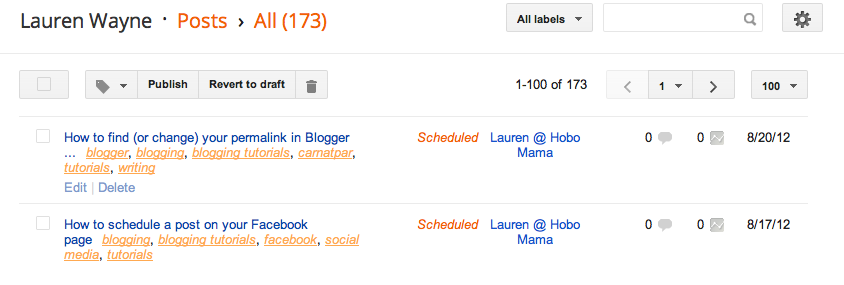
Under the Posts menu, there will be a highlighted confirmation telling you your post is scheduled and will be published at the date you specified. Check that it's correct.
If you need to make changes, you can edit your post. However, make sure to click "Publish" again if you want to reschedule. If you click "Revert to draft," it will unschedule your post and save it as a draft instead.
Warnings about scheduling your post:
- Be careful that your post is completely ready before pushing "Publish" to schedule. Use the Preview function to make sure everything will look the way you want it to when it goes live if you won't be around to check and make changes.
- If you want to edit your post in any way before the scheduled date, you must click "Publish" again when you're done to reschedule the publishing. If you change your mind and don't want it to publish automatically, however, you can click "Revert to draft" instead. That will switch it to the usual draft form.
Let me know if you have any questions, suggestions, or updates on scheduling your post in Blogger!


0 comments:
Post a Comment